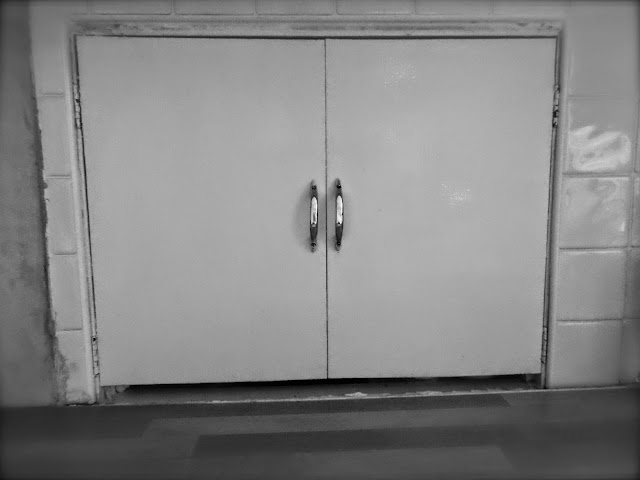
Since the building work on our house was completed I've been tasked with planning the decorating and interior styling. The house is a typical 1970's build - complete with 'serving hatch' between kitchen and dining room which I have not, under any circumstances, let anyone remove (although a previous builder did somehow manage to chop and inch or so off the bottom of the doors so I've still got to work out how to sort it back out!)
 |
| Hands off my hatch! |
Being a bit of a collector (aka hoarder according to the family) I am also looking forward to mixing the decor plans with being able to display some of my finds. I also want to give the occasional nod to it's humble summer of '76 beginnings (without overdoing it) so it's great that all things 70's are back on trend because it means there is lots of inspiration in the shops! I've already got me some flared jeans and a few crochet tassel tops (ooh I'm so retro ;-)) and what I want now is a belt and well, being a crafter, what a fab excuse to get making a DIY macrame one just like they did back in the day!
I've used simple macrame techniques to make jewellery in the past - I even did a 'Macrame Bead Bracelet' tutorial for YouTube when 'those' (which-shall-not-be-named..) bracelets were popular. In fact if you watch it you will see how to make basic 'square knots' (plus a few other good tips for adding beads to knotted cords!) I've kept the rest of the knotting pretty simple on the belt so once you can do a square knot you should find the rest of it pretty easy too.
 |
(quick explanation for the vintage Black & White photos
- it's not a mistake... I actually thought they made
the knotting easier to follow this time!)
|
So, to state the obvious, you need scissors and some string - lots of it! I cut 5 x 5mt lengths because I didn't want a really wide belt I also used a couple of old bangles from a junk shop find to secure the strings to - larks head knots are the best way to attach the strings because they are so simply - basically you fold the string in two then, holding the middle like a loop, thread the tail ends back through itself.
It also helps if you use a bit of tape to secure the work onto the table (unless you already have a proper macrame board of course!)
Another good tip is to make cardboard 'bobbins' to wrap the long string ends around - it makes for less tangling up! I wrapped them in their pairs for this project.
Once the strings were sorted, I began to make a square knot around the central 2 strings with the pairs of strings directly either side of it.
I made 5 'whole' square knots in total, in a line down the center strings.
Next I brought the two outer pairs of strings down the outside and, leaving a small gap, I used 2 x 'half' square knots to attach them to the two middle pairs...
Then I used the same threads to work large square knots across all three middle pairs of strings...
After that, the pairs were separated back out and, leaving a small gap, the two outer pairs of strings were secured to the two middle pairs with 2 x 'half' square knots...
After that I began to repeat the pattern (i.e. leave a gap, make 5 square knots etc). Just make it as long as you need to go around your waist or hips. My belt measured around 83cm not including bangles and tassels so if you want longer be sure to cut longer strings to start with (it's not an exact science!)
 |
| Repeat the pattern of knots until it is long enough... |
 |
| Finish off in true retro style by tying small overhand knots in the ends of the tassels... |
 |
| (I decided the bangles were too big so squished them into a different shape!) |
Oh - one last tip... if you are working on a table like I was, it helps to hold the strings you are knotting around between your knees ... except maybe when you get a curious, string sniffing little visitor like this..
Enjoy getting knotty :-)
All photographs & text (c) Addicted to Making 2015


No comments:
Post a Comment